Looking for an Induction Cooker Error code with the solution? Malfunctioning in the induction cooker can cause several errors and issues in the temperature setting. The majority of problems in induction cookers come from power boards. If any issue is caused in the power board then the induction cooker shows an error message with different codes like E0, E1, E2, E4, E5, E9, etc.
In some cases, these error codes can simply be solved by restarting the cooker while some of the error codes require contacting the repair center. In today’s post, I will be sharing the induction cooker error code with its common causes and steps to fix those error codes.
Please note that every Induction cooker manufacturer shows different error codes
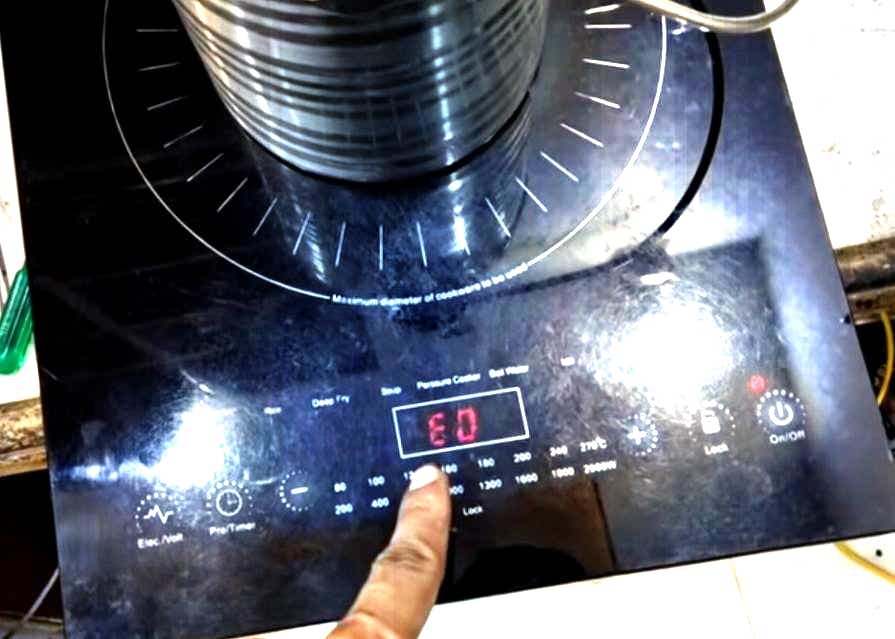
Induction Cooker Error code E0 with solution
Table of Contents
Common Causes of E0 Error Code
E0 is the most common error to arise in induction cookers. This error simply means you have not placed the utensil or pot on the top of the induction cooker.
Another possible reason for the E0 error is the use of aluminium or any other incompatible utensil because if you use utensils other than stainless steel utensils or an induction-ready pan, then it will not be detected.
Steps to Fix of E0 Error Code
You should use an induction-ready pan on a glass surface within the range of the induction cooker.
Make sure to place the pan or utensil correctly
Sometimes this E0 error is caused due to damage in the 5uf/400 Volt box-type capacitor. Apart from this, you also need to check the 0.3uf/1200 volt box type capacitor.
If the capacitor is duplicated or poor-quality components are used, these can also cause E0 errors in induction cookers. Sometimes faulty bridge rectifier is also responsible for showing an E0 error.
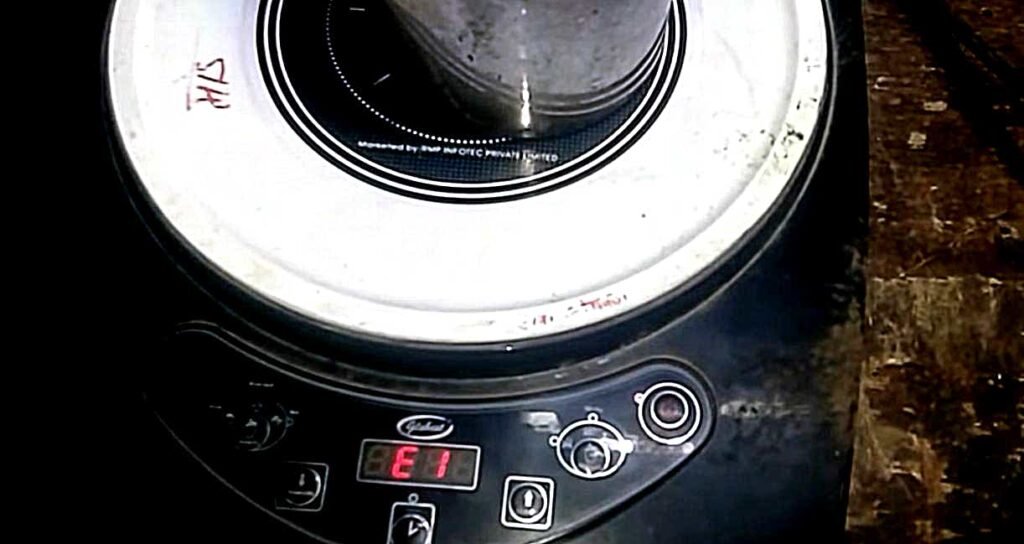
Induction Cooker Error code E1 solution
Common Causes of E1 Error Code
There are various causes leading to E1 error Codes in induction cookers such as:
If there is no pot available on the induction cooker.
If there is low voltage(around 170 volt AC) in the induction cooker.
If there is damage in 5 mfd/400 volt filter capacitor or 0.3 mfd/1200 volt capacitor.
If there is an IGBT short between the Gate and the source of the induction cooker.
In case of damage in the driver section (transistor 8050 and 85550)
The requirement of DC 18 Volt is necessary for the proper functioning of the driver section. Make sure to check the presence of 18 Volt in the driver section.
Connection from rectifier section to microcontroller input AC voltage, Voltage divider resistor, and output of 4007 diodes are interlinked with values 220k, 270k, 330k, 470k, or 820k. Make sure to check these voltage divider resistors. In case of any opening in the circuit, the E1 error Code will be shown by the induction cooker.
Opening or short in SMPS section (IN4007 diode)
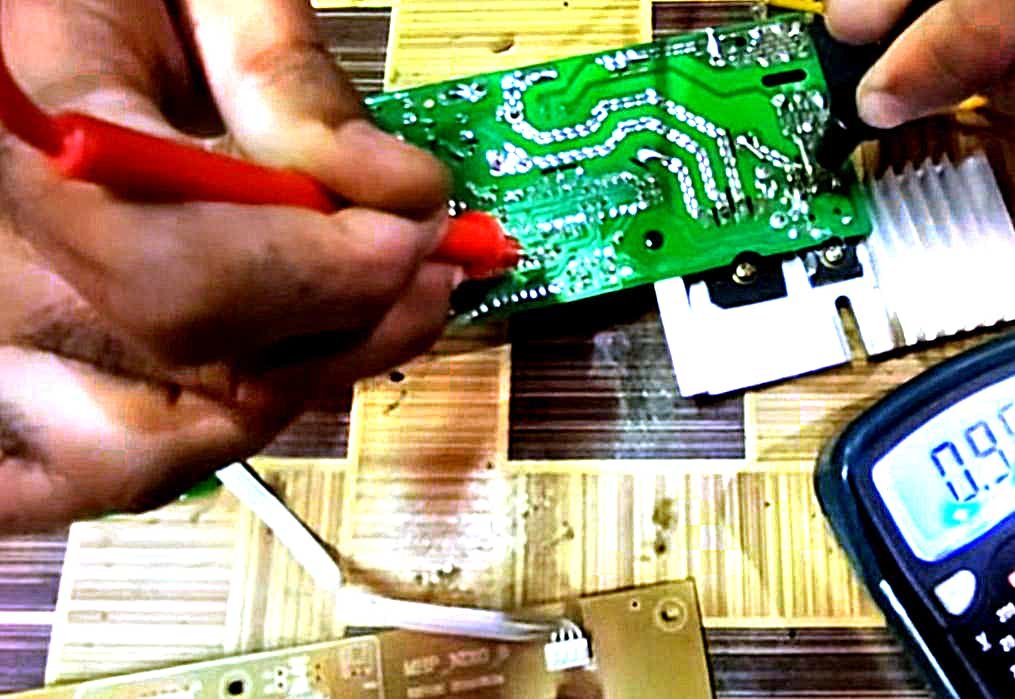
Steps to Fix of E1 Error Code in Induction Cooker
As the E1 error in the induction cooker has been caused due to malfunctioning in the circuit, you should clear the vents and let it cool down. Then restart the cooker. If this method doesn’t solve the error then other methods explained below must be done by an authorized electrician.
You need to remove the panel and check the damage in the induction coil to see the reason for the error.
If there is no damage in the induction coil, you have to check the damage to other parts such as the filter capacitor, driver section, SMPS section, and all the other possible parts mentioned in the causes of the E1 error mentioned in the above section.
Induction Cooker Error code E2 solution

Common Causes of E2 Error Code
E2 error code in induction cooker is shown in case of abnormal operation protection from high voltage (255 Volt or above) causing high temperature.
Other reasons include opening of the IGBT temperature sensor, placing the hot pan on touch control, etc.
Steps to Fix of E2 Error Code in Induction Cooker
The majority of induction cookers with error code E2 can be solved easily by cooling down the range & restarting it. Make sure to use induction-ready cookware.

You have to remove the panel and check the damage in the induction coil, in case the error persists.
Apart from that, you have to check the damage in other parts such as the filter capacitor, driver section, SMPS section, and all the other possible parts in the power board.
Induction Cooker Error code E3 solution
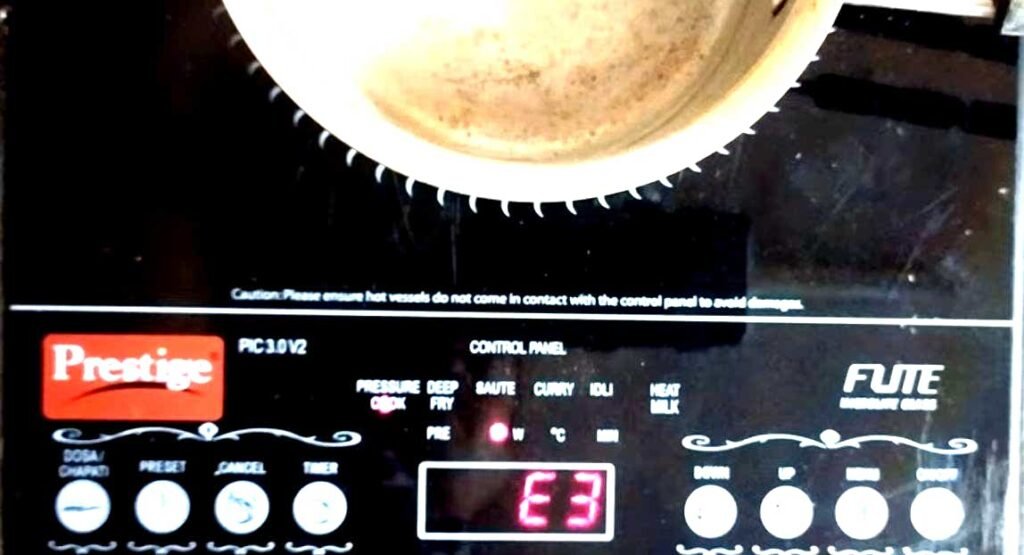
Common Causes of E3 Error Code
If your induction cooker has a higher voltage range for the first three seconds, it shows E3 Error.
Temporary voltage overload in the circuit or main temperature due to abnormal voltage supply causes E3 error
If the Main AC voltage sensing section has an open voltage divider resistor, faulty capacitor, or faulty IN4007 diode.
In case of rusting in the pin & base socket of the IC base socket present in the Microcontroller IC, an E3 error shows.
Steps to Fix of E3 Error Code in Induction Cooker
Make sure that the AC voltage coming into the house is compatible with the requirement of normal voltage for the functioning of the induction cooker.
If this voltage in the house is more or less then, a voltage regulator is required to fix it.
To correct the voltage, a voltage divider section needs to be created so that voltage can be given to 2 ADC pins of the Microcontroller IC. Here one pin will show low voltage while the other pin is used to sense High voltage in the induction cooker.
If either of the Voltage divider sections has an open register then the ADC pin will not receive voltage thus leading to E3 error.
Usually, the majority of manufacturers show low voltage with E3 error in the induction cooker.
Induction Cooker Error code E4 solution

Common Causes of E4 Error Code
The primary reason behind showing an E4 error message is the presence of abnormal voltage in the induction.
Other reasons might be the failure of 5 MFD/400V box-type capacitor, and the increased value of the ground-connected resistor causing overvoltage in the microcontroller IC. In simpler words, any issue from the input AC voltage sensing pin to the microcontroller IC needs to be checked.
Steps to Fix of E4 Error Code in Induction Cooker
One of the simplest ways to fix an E4 error message is by waiting for some time to get normal voltage in your induction cooker and simply restart it.
Open the induction circuit board and see if the voltage in the check box type capacitor is working normally or not.
In case of damaging voltage divider sections having resistors 220k, 270k, 330k, 470k, 820k, 1 watt, or 2 watts, you have to replace resistors of the same value.
Sometimes damages in the voltage sensing pin of the microcontroller IC cannot be repaired.
You also have to check all the parts such as input AC voltage, diode divider resistor of half-bridge rectifier, box type capacitor, microcontroller IC, etc. And have to fix the faulty section.
Induction Cooker Error code E5 solution
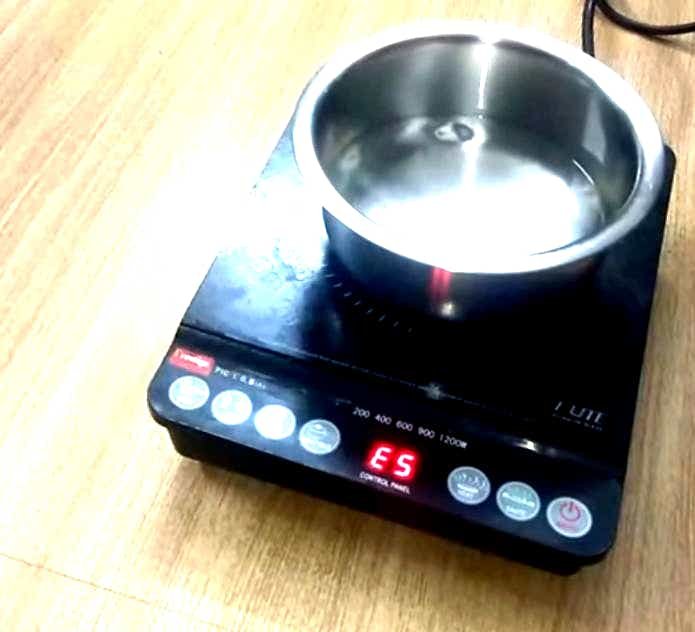
Common Causes of E5 Error Code
If the plate surface temperature sensor of your induction cooker is too high then it shows an E5 error.
In case of a faulty fan of an induction cooker, defective internal temperature sensor, or open voltage dividers register, the E5 error persists.
Steps to Fix of E5 Error Code in Induction Cooker
One of the simplest ways to fix IGBT overheating in an induction cooker is to simply check whether the cookware is suitable or not and then switch on the application again once it naturally cools down.
In case of a faulty fan or internal temperature sensor, you have to replace the defective part. E5 error caused by open voltage divider resistors can be fixed by replacing resistors of the same value.
Induction Cooker Error code E6 solution
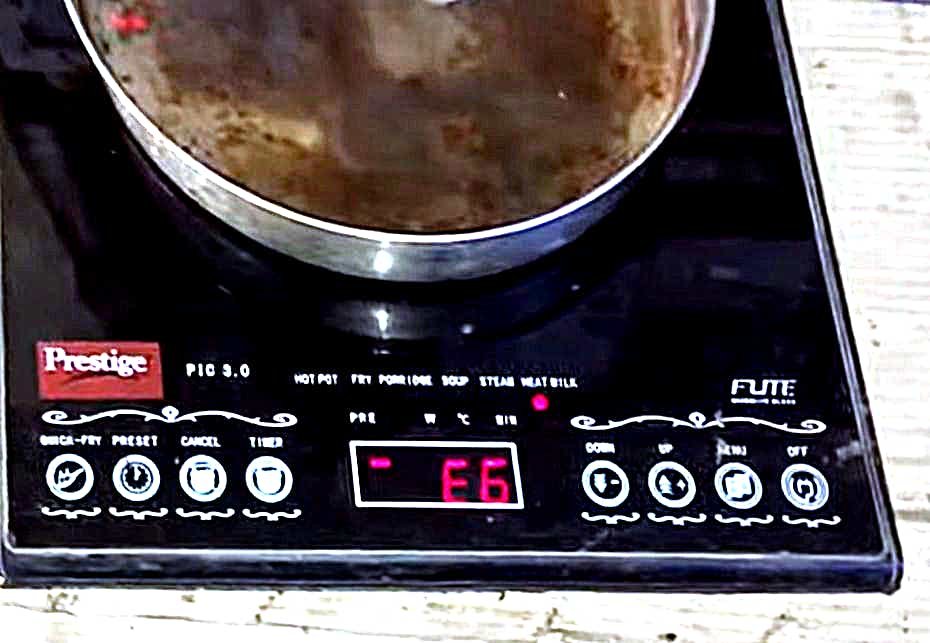
Common Causes of E6 Error Code
If the induction cooker shows an E6 error between 30 seconds to 2 minutes, guess who is responsible? This error is due to excessive heat caused in the induction cooker due to various reasons not working cooling fan or fault in the components of the circuit Board of the induction cooker. In simpler words, it is a short circuit in the sensor of the cooktop.
Steps to Fix of E6 Error Code in Induction Cooker
The first step to solve the E6 error is to check the cooling fan which can be checked even without opening the damaged induction cooker.
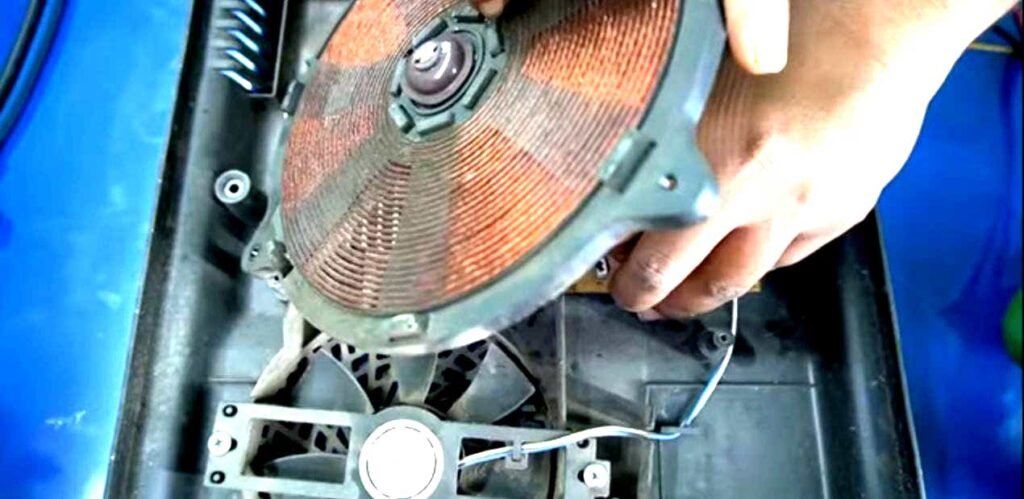
If you find no error in the fan of the induction cooker then you have to check the components of the circuit board and fix the faulty parts. Also, make sure to check the internal temperature sensor of the circuit.
Induction Cooker Error code E7 solution
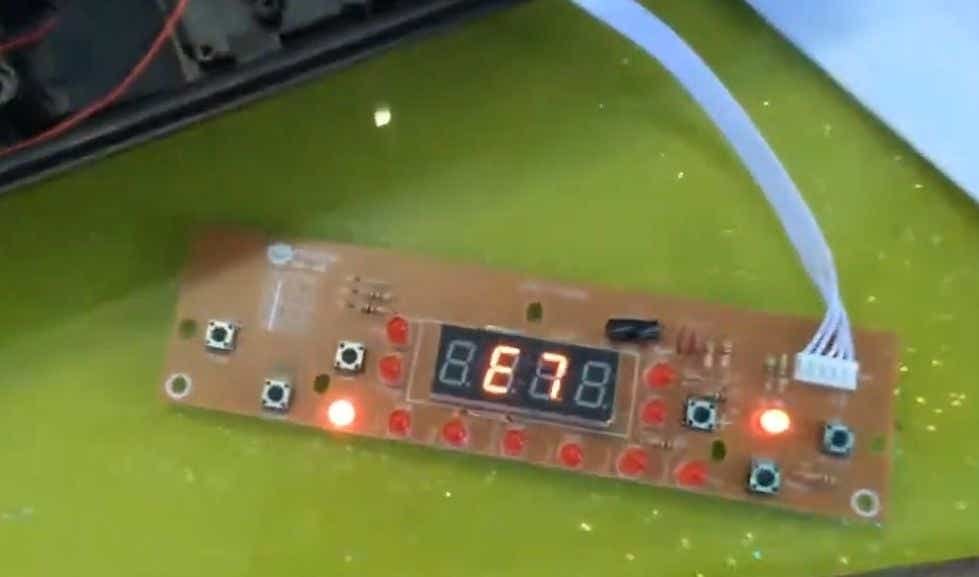
Common Causes of E7 Error Code
E7 error Code occurs when the input AC voltage in an induction cooker is low or high. If this problem isn’t solved by simply letting cool and restarting then the default must be in the voltage divider resistance.
Steps to Fix of E7 Error Code in Induction Cooker
The first step is to check the voltage of divider resistors which are used in induction cookers with values 270k, 330k, 470k, or 820k ½ watt or 1 watt by multimeter.
You can also check the whole circuit directly by turning on the power but make sure to follow this carefully otherwise you can get a shock.
The next step is to check and fix the opening in the voltage divider register by checking the ADC pin of the microcontroller IC. The value of this must be between 1 volt to 3.5 volts.
If there is no damage inside the circuit board then you must also check the fan of the induction cooker as a faulty internal temperature sensor can also be the reason behind the E7 error.
Induction Cooker Error code E8 solution
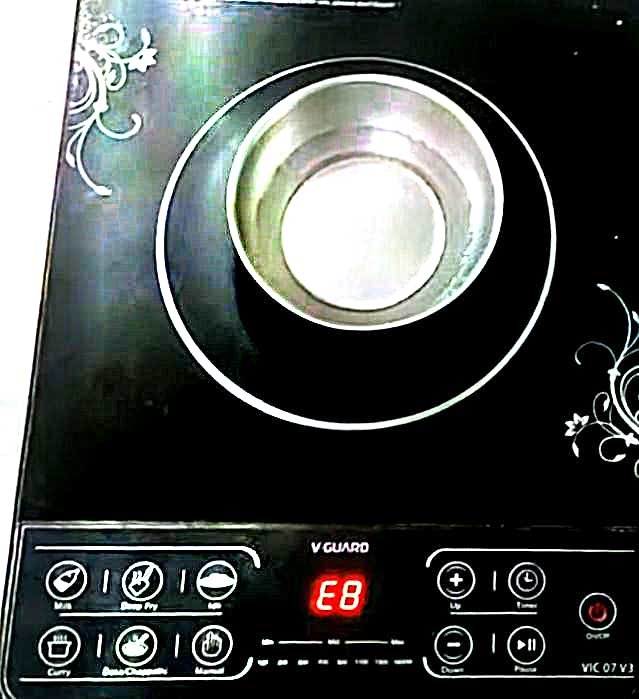
Common Causes of E8 Error Code
If there is any damage in the fan leading to abnormal behaviour in internal temperature in the induction cooker, it shows an E8 Error. In Other words, the short circuit of the internal temperature sensor is an E8 error.
Steps to Fix of E8 Error Code in Induction Cooker
In many situations, E8 errors in the induction cooker can be fixed by breaking the circuit to turn it off so that the cooktop can be cooled down. After some time, you can restart it and it will be fixed.
If the above-stated method doesn’t work then you have to check other components of the induction cooker such as fan, input AC voltage, diode divider resistor of half-bridge rectifier, box type capacitor, microcontroller IC, etc.
Induction Cooker Error code E9 solution
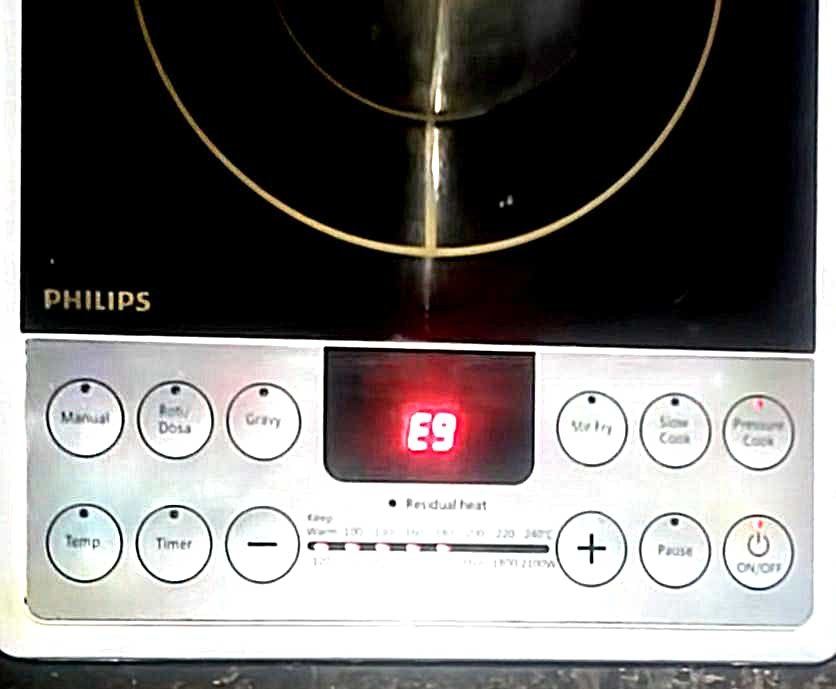
Common Causes of E9 Error Code
Different companies of induction cookers show different reasons for the E9 error message. For example in the case of the Philips induction cooker, the E9 error Code is shown when there is a fault in the thermal fuse.
E9 error Code can also caused by the opening of the voltage divider resistor in the case of a prestige induction cooker.
Another reason behind the E9 error can be damaged in 0.3 if/1200 volt capacitors.
Steps to Fix of E9 Error Code in Induction Cooker
In E9 error Code is due to the thermal fuse, so you have to fix the driver section by replacing it with an 18-volt thermal fuse.
If a 270k 2-watt voltage divider resistor( for eg in the case of a prestige induction cooker) is causing an issue, then you have to replace it and other related parts as well.
Watch the Video on E0 to E9 Induction Cooker Error code with solution
FAQ Related to E0 to E9 Induction Cooker Error code with solution
1) Why do the Induction cooker shows error?
When there is a problem in any part of the induction cooker like overheating, not detecting the pan, malfunctioning in the fan, etc. different models of cooker show errors from E0 to E9 according to their manufacturing.
2)What are the Common error codes of induction cookers?
Common error codes of induction cooker are: E0( Error in detecting cookware), E1(cookware not compatible), E2 (internal overheat), E3( overloading Voltage), E4 (underload voltage), E5( open circuit in sensor of cooker), E6 (short circuit in sensor of cooktop), E7( overheating in cook-top), E8 (Internal temperature sensor short circuit), E9 (Internal temperature sensor open circuit)
3) How to fix the error code in the induction cooker?
Let your induction cooker cool down for a few hours & restart it. If the error isn’t fixed then you should get it repaired by a professional technician. For steps for fixing the E0 to E9 Induction Cooker Error code with solutions, read the full post.
Learn other electronic gadgets repair process
- LCD LED Repairing guide Ebook
- How to Repair Dead Electric Cooker
- Sony KDL-32S5600 TCON Voltage Data and Chart
- FS_HBC2L T-CON Voltage Data
- PHILIPS TV Service Menu Code Pdf
- Universal Board secret code
- LCD LED Panel Repairing Process
- How to Repair TV Stand by mode
- LCD LED Panel Burning Problem Repairing
- Power Supply Repairing Technique
- LCD LED Repairing Guide PDF
- T-con Board Repairing Process
- How to Repair LED TV NO Sound Problem
- LCD LED Repairing Practical Video
- 5 LED TV Common Problem Diagnosis

